
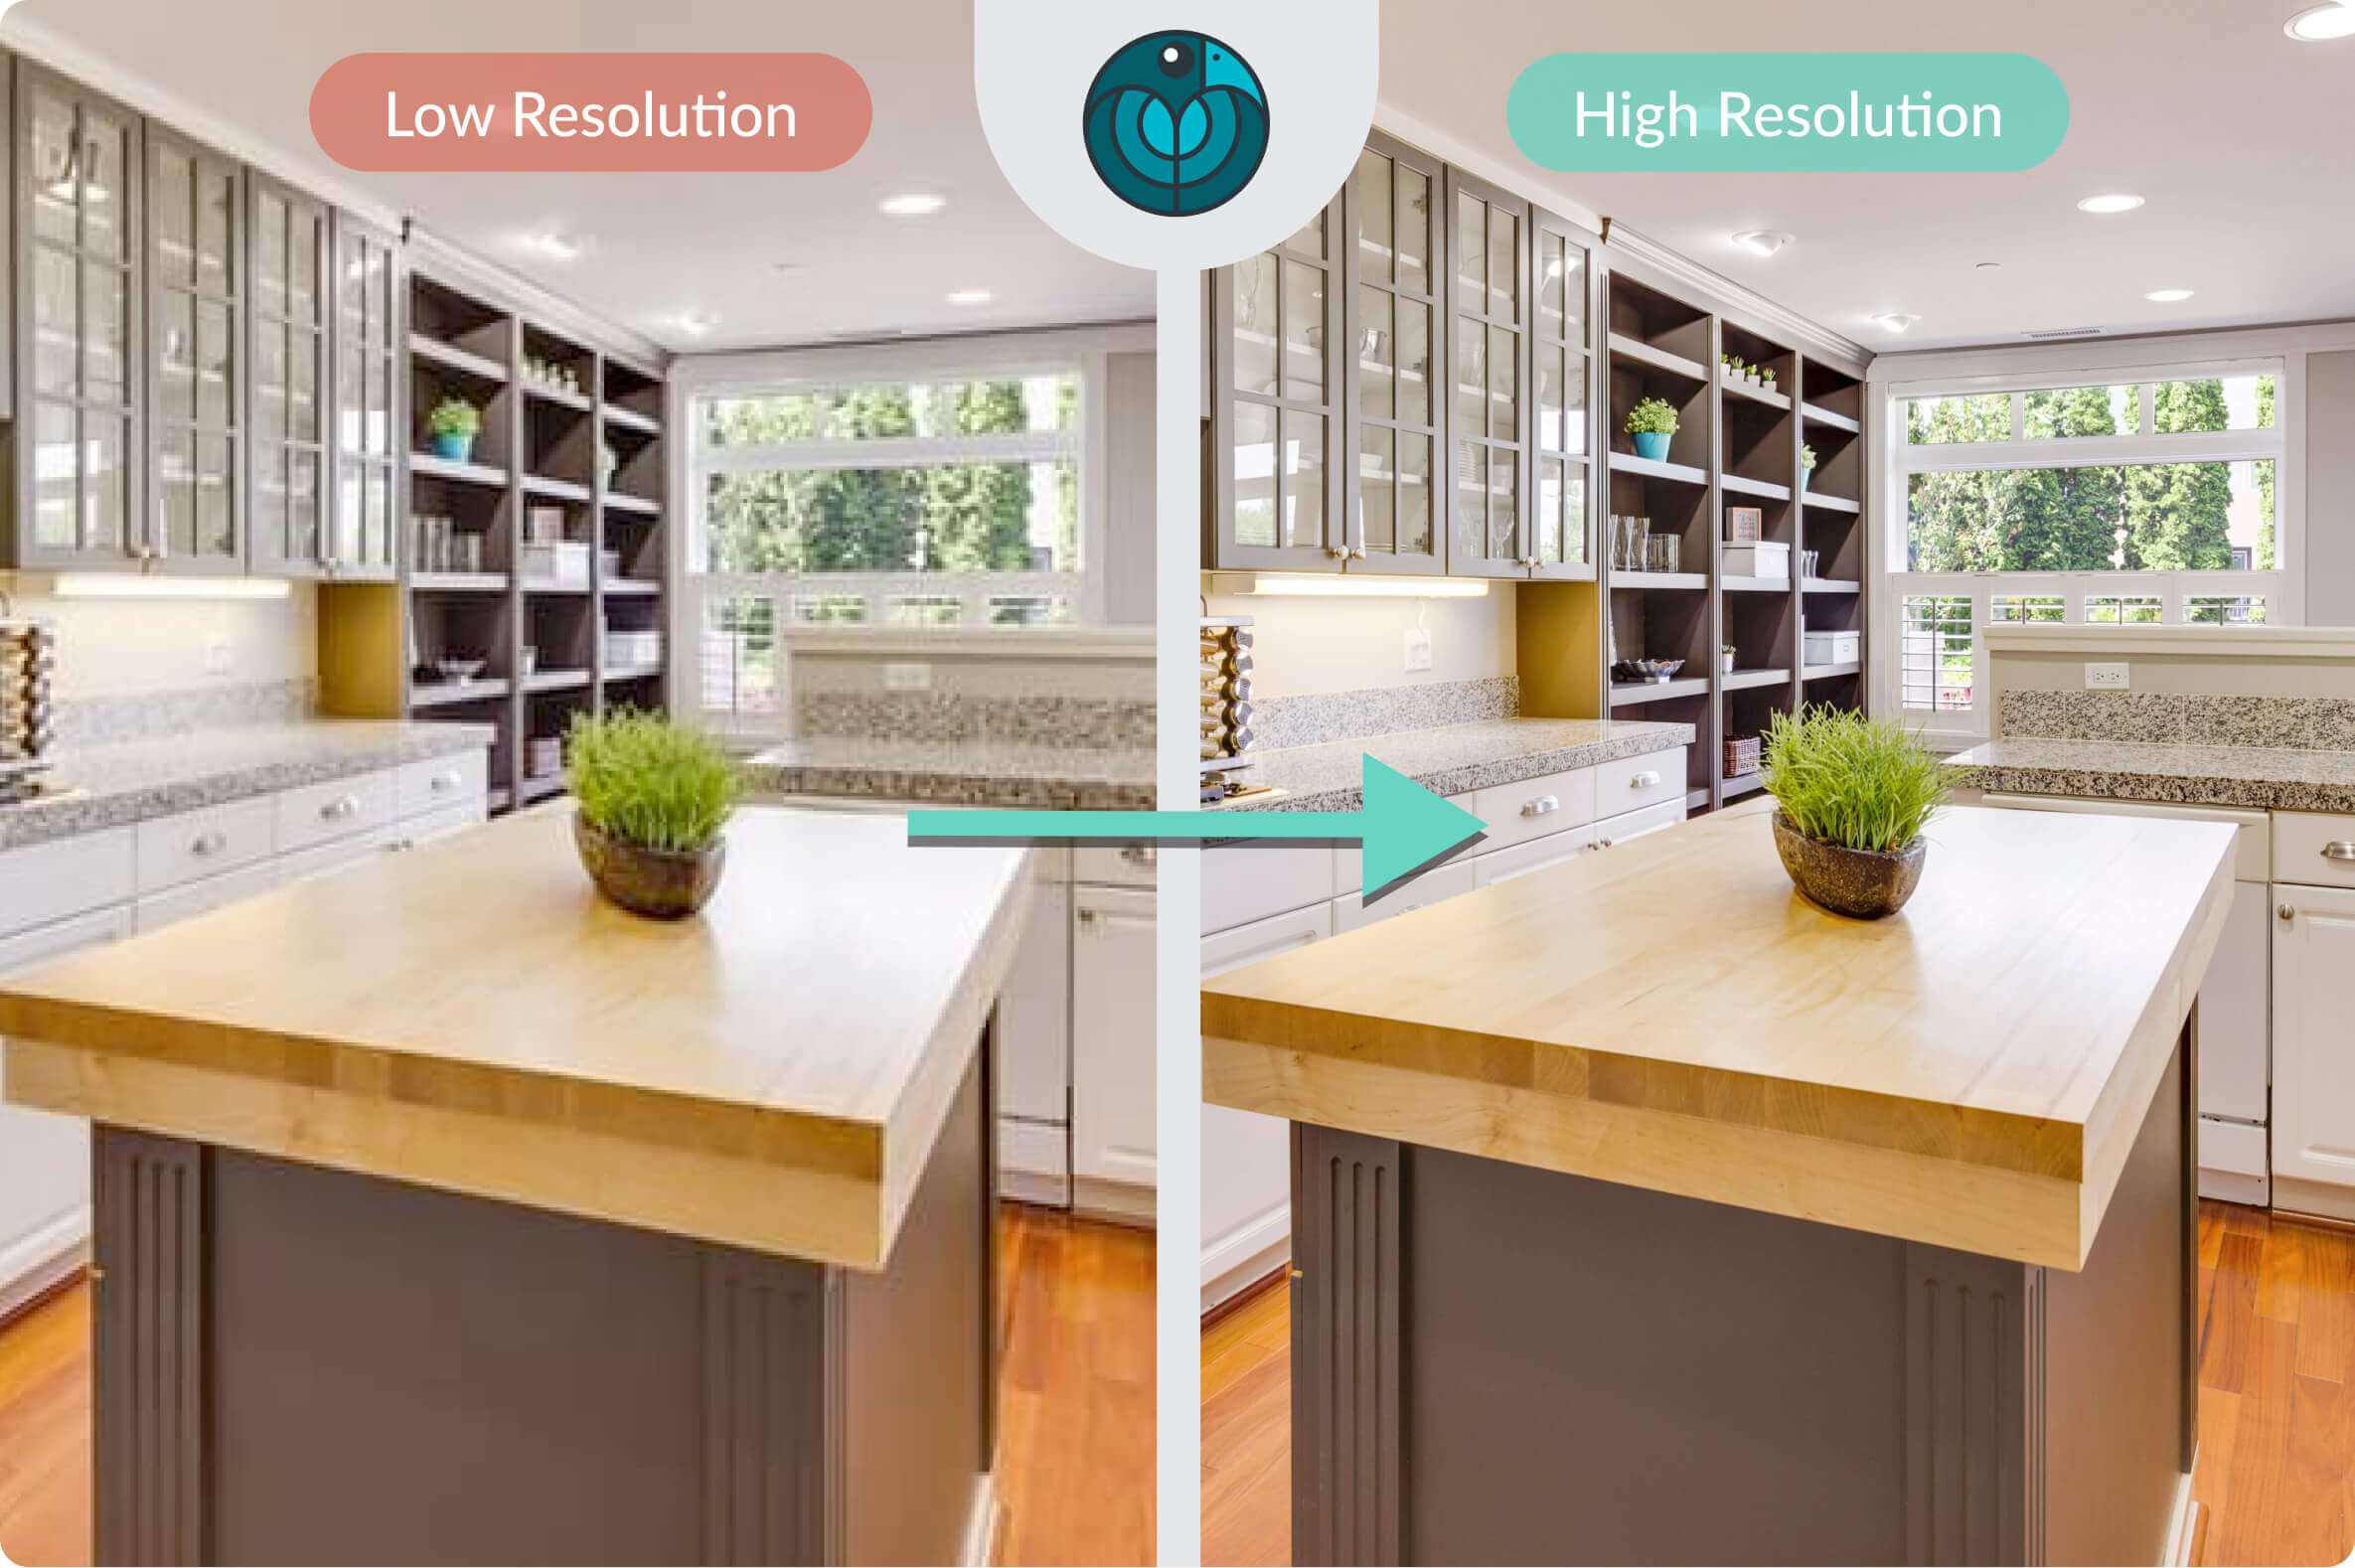
In this tutorial, you’ll discover how to utilize artificial intelligence to increase the resolution of your 360° photos losslessly and automatically.
Specifically, we will show you how to enhance the left side of the image so that its resolution matches that of the right side. In this tutorial, we’ll see how to increase the resolution of your 360 ° photos losslessly and automatically thanks to artificial intelligence.


Photo by Francesca Tosolini on Unsplash
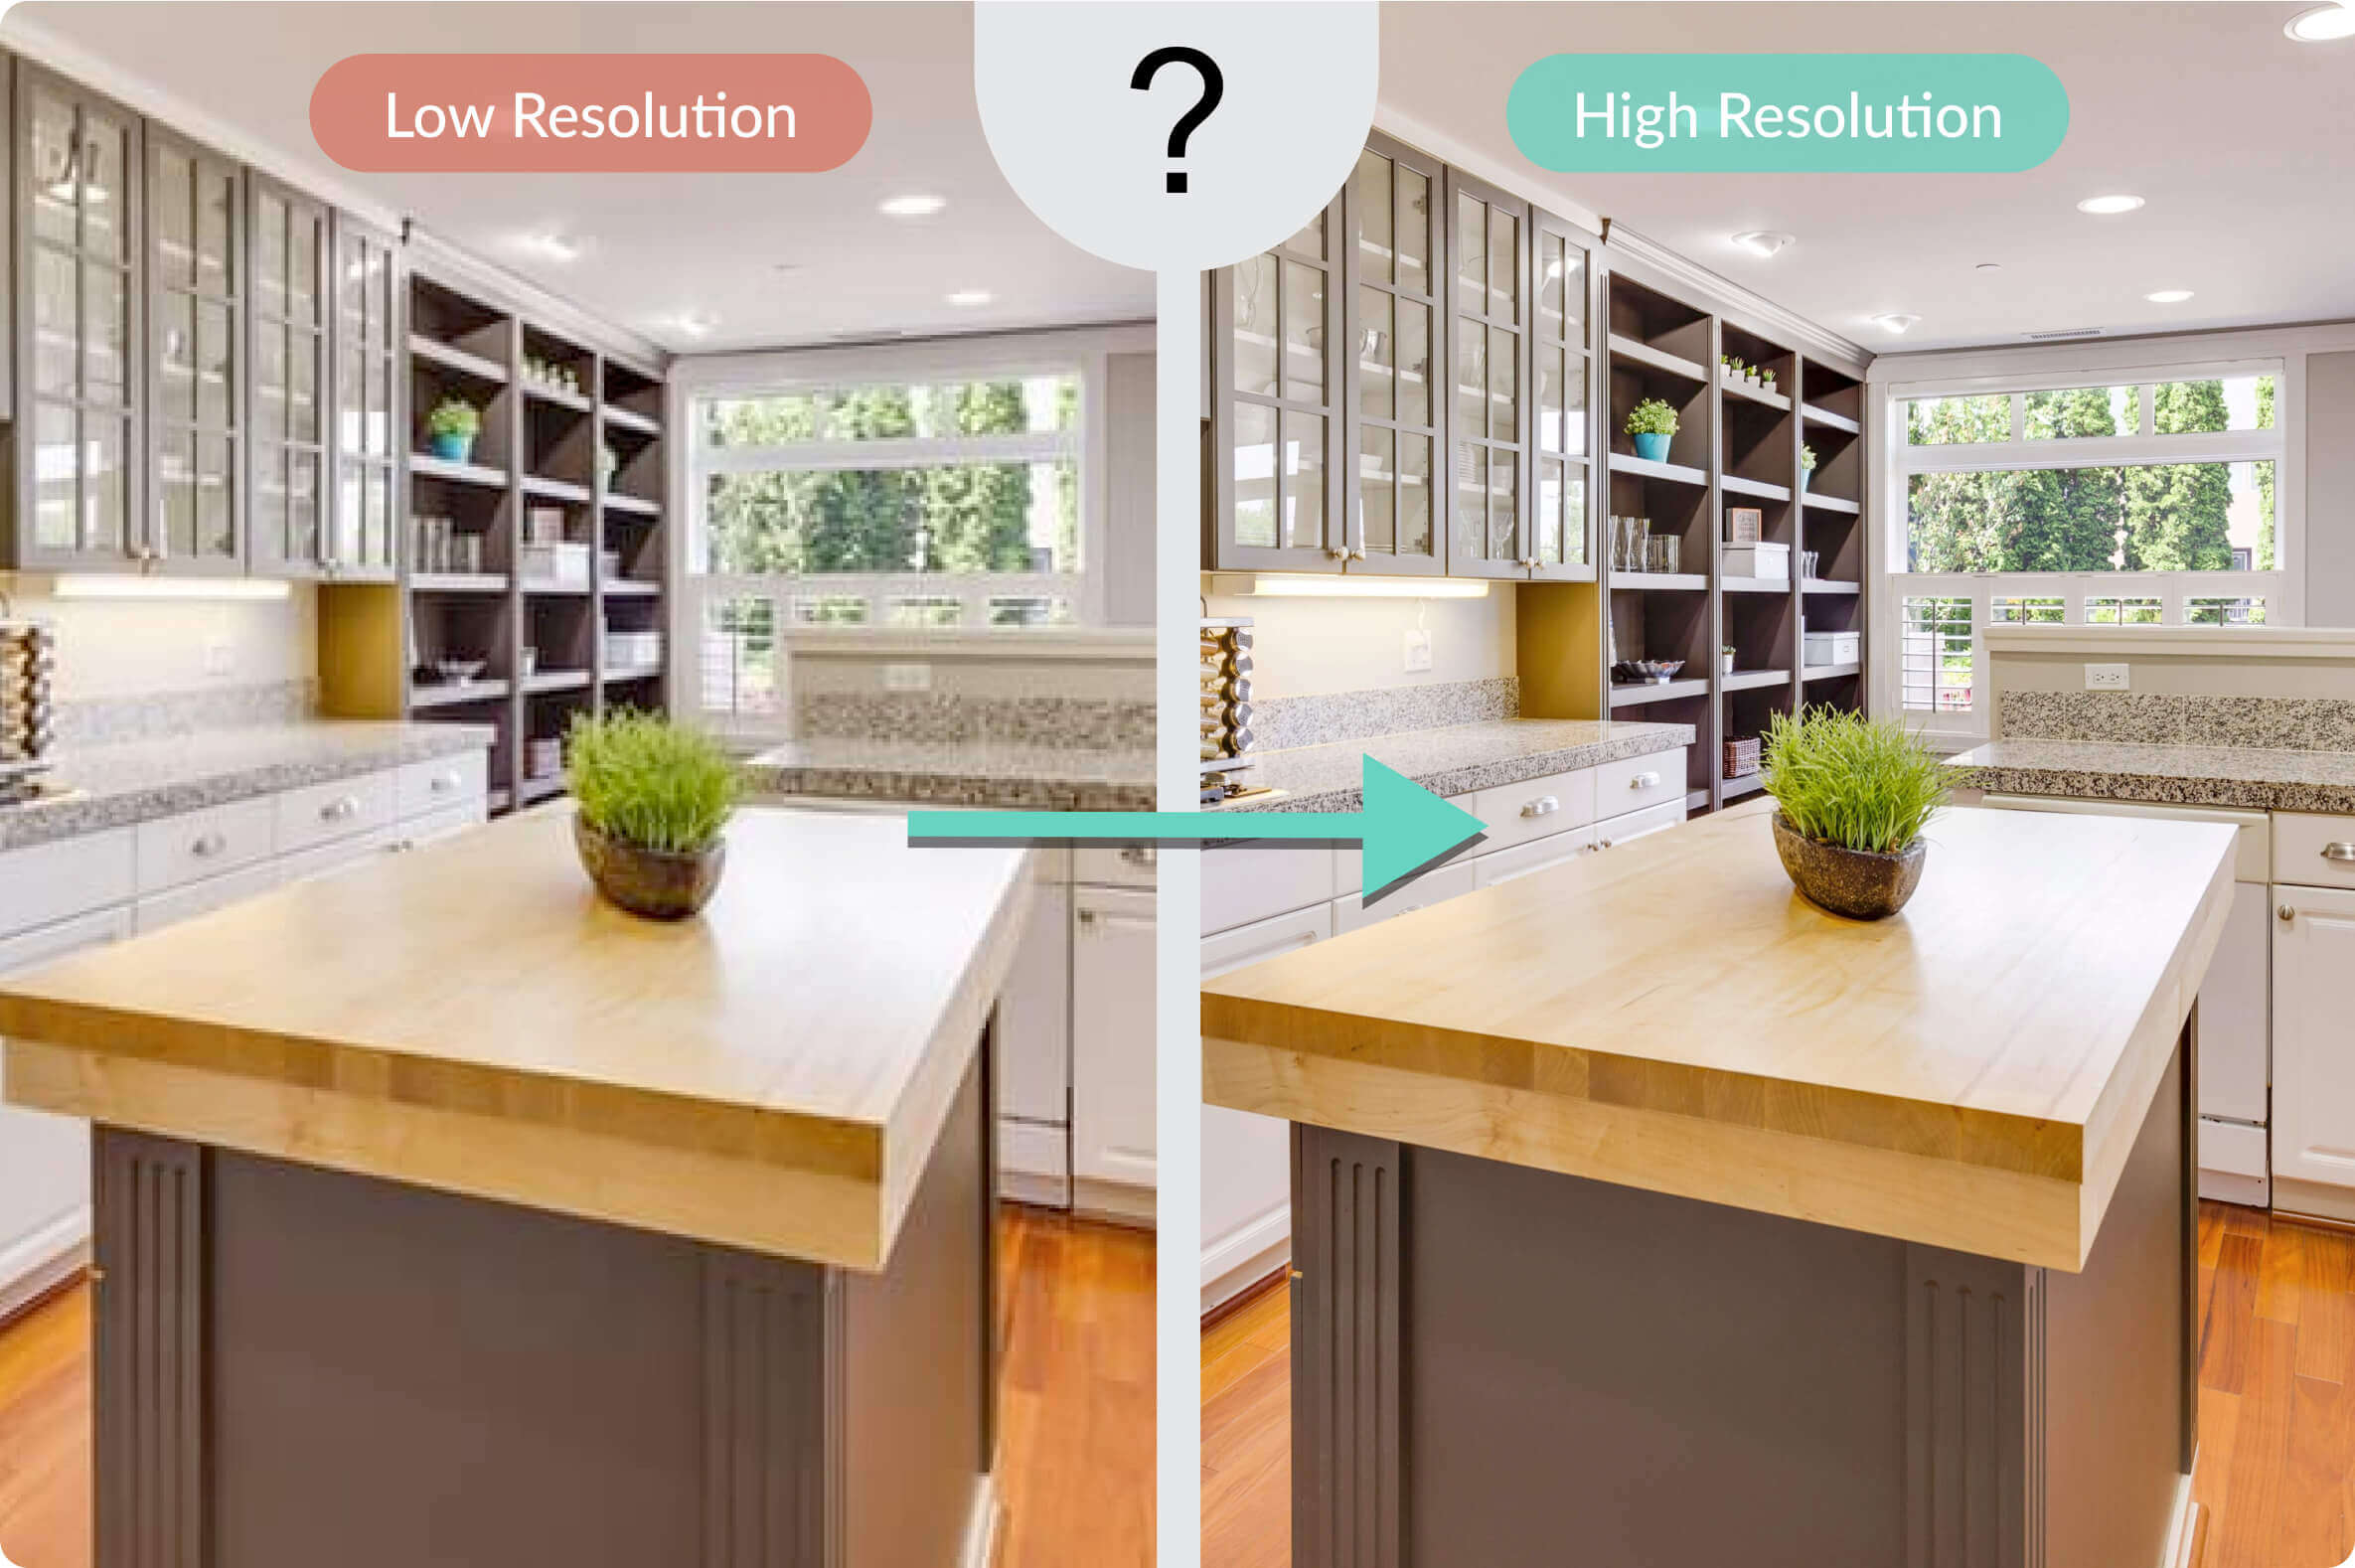
The goal is to produce a high-resolution (HR) image from a low-resolution (LR) image. This conversion process is called super-resolution.
Super-resolution involves the use of artificial intelligence (deep learning) techniques rather than conventional image interpolation methods.
Why to increase the resolution of 360° photos
An image may have a low resolution due to its size (pixel count) or to degradation, such as a blurry area.
Getting the LR version of an image from an HR version is very simple. You just have to reduce the image size or compress the picture via Photoshop (or another graphics editor, such as Gimp).
For instance, you may wish to resize a 3000×3000 px image to a 500×500 px thumbnail.
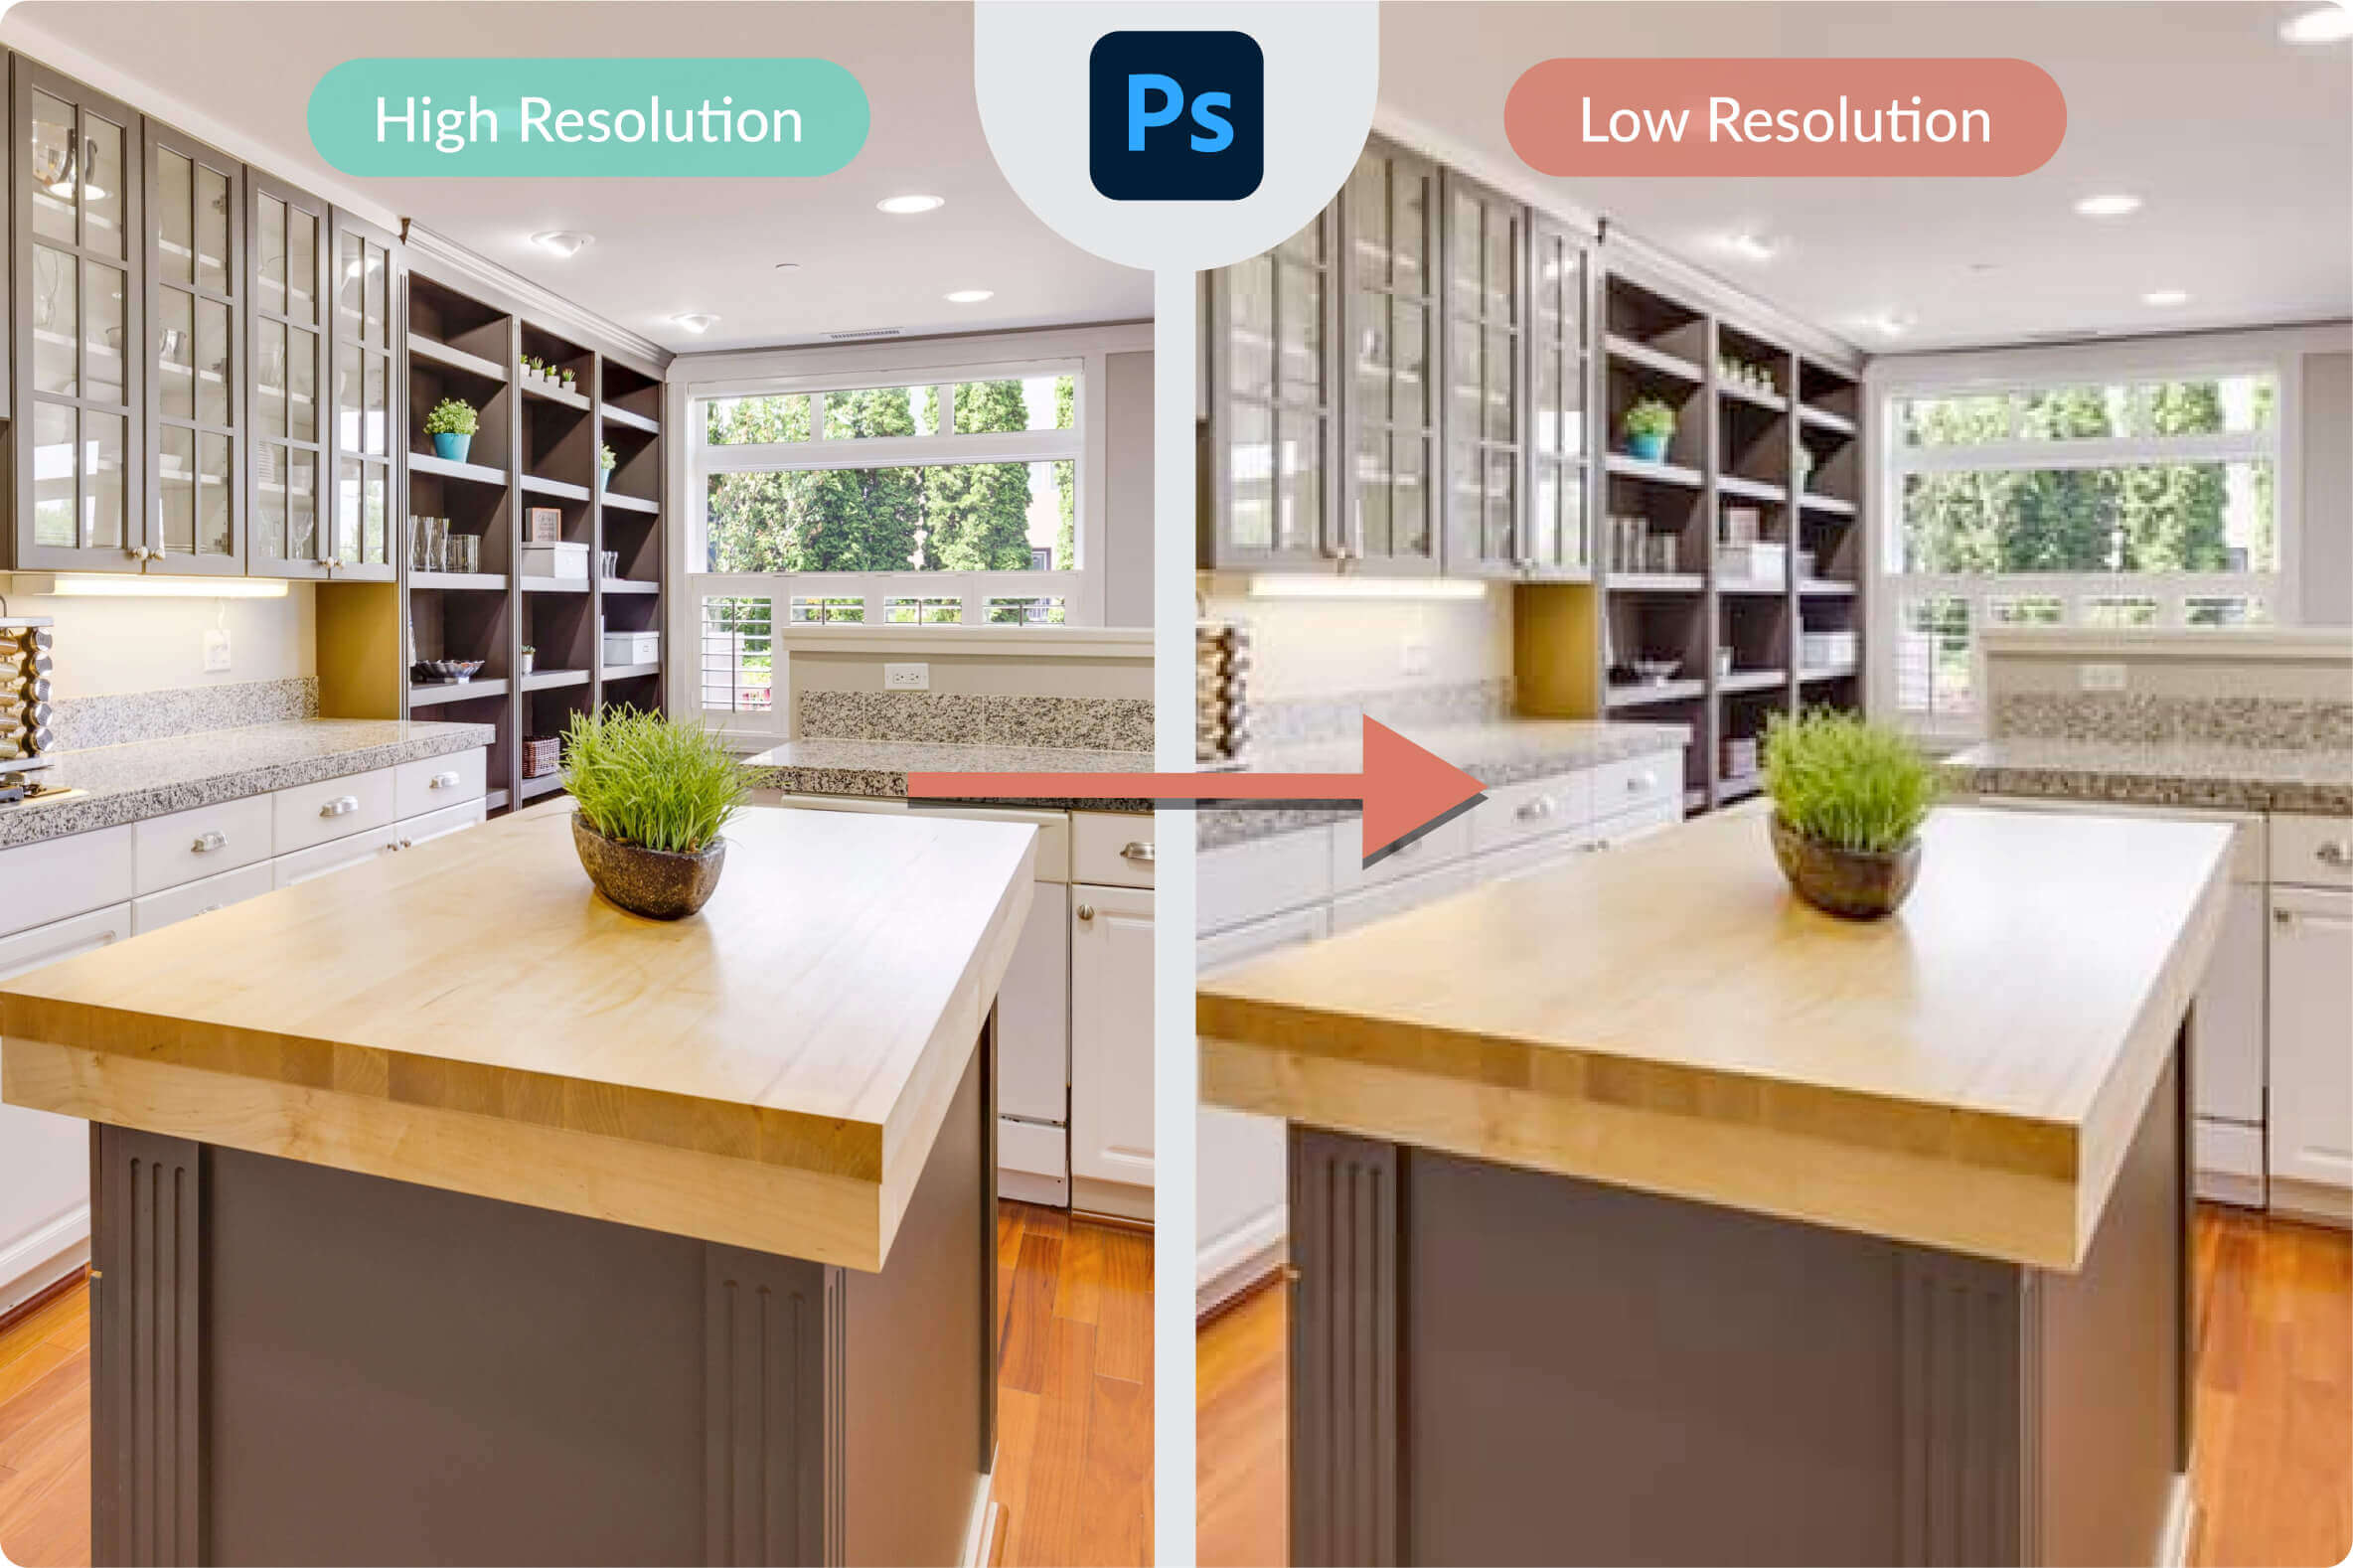
The problem arises when you want to do the opposite, i.e., increase the size and resolution of an LR photo. Indeed, while it’s easy to degrade an image, restoring it is a different ball game.
The solution to this problem would be especially useful in the following situations:
- You don’t have access to the original image, but you want a higher-quality version of it.
- You want to enhance the original photo, increasing its native resolution.
This is particularly true for 360° photos because, even though the camera lenses of dedicated 360° devices can technically shoot in 5.7k, the resolution is spread over 360°. For reference, a traditional camera with the same resolution capacity (5.7k) only covers between 50° and 100° (depending on the camera lens). As a result, the visible region of a 360° image viewer has a much lower resolution than 5.7k.
Super-resolution is the key to improving LR photos.
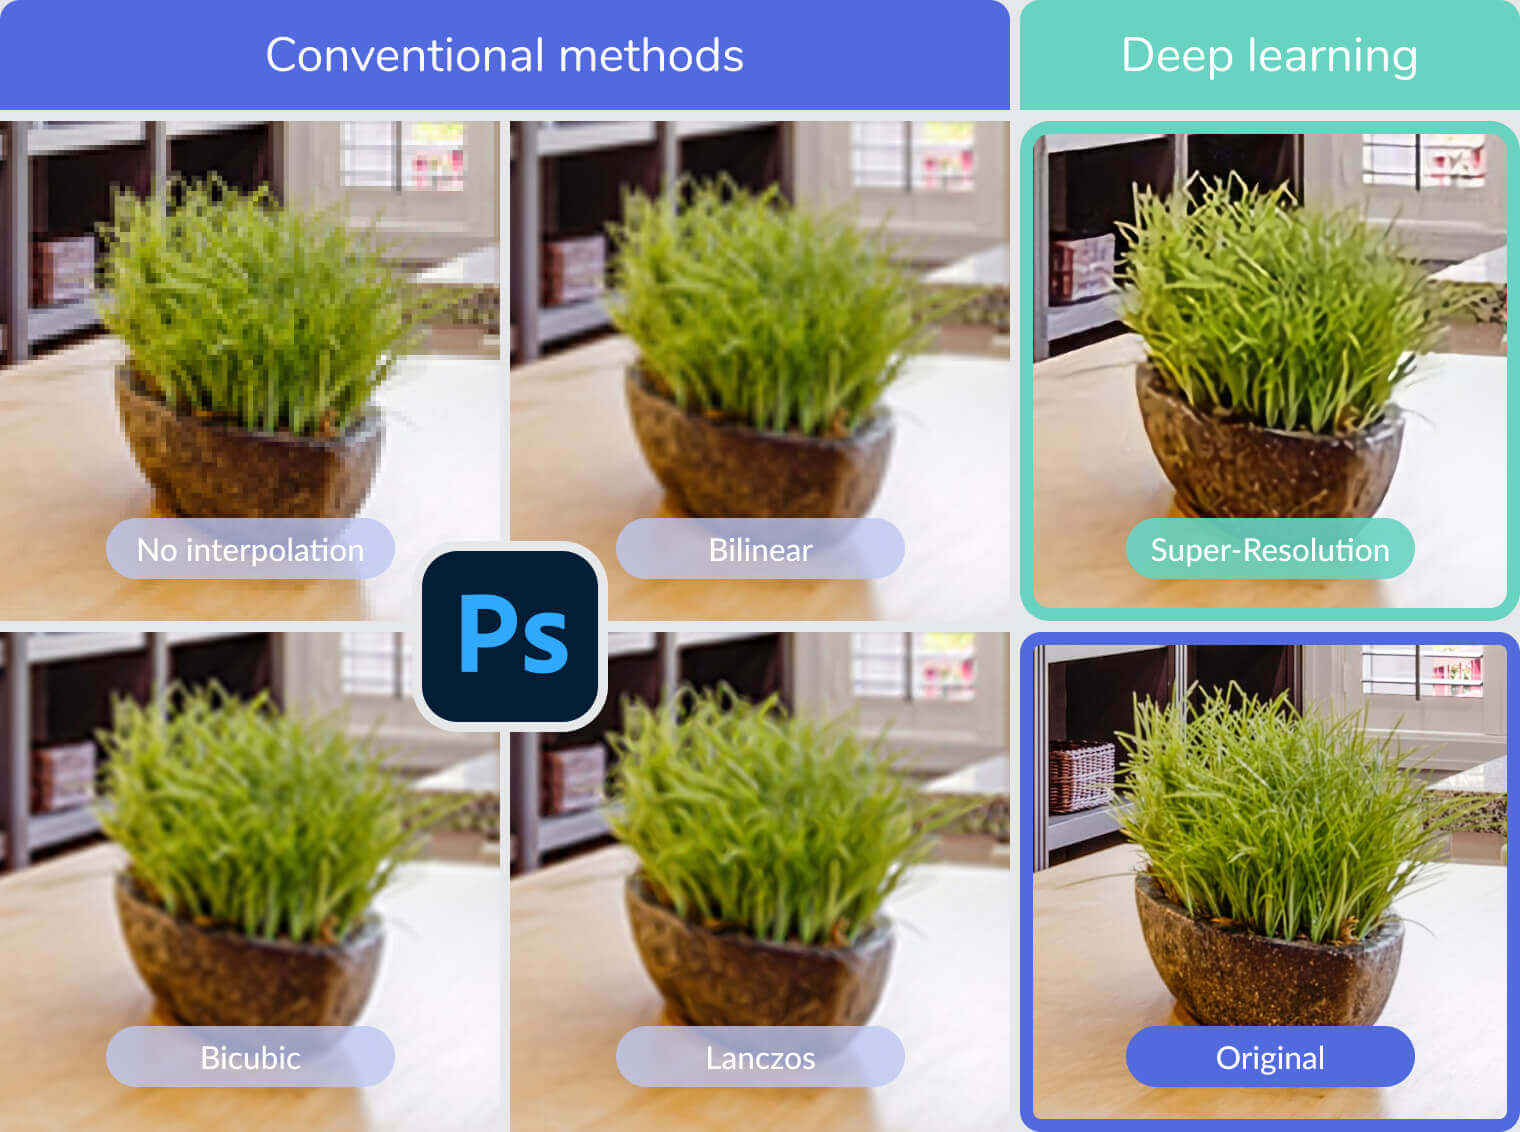
Classic methods of increasing photo resolution
Classic photo editing software offers several algorithms for increasing image size. The best-known functions are bilinear, bicubic, and lanczos interpolation.
These types of resampling algorithms are applied every time you resize an image. The screenshot below illustrates bilinear resampling in Photoshop.
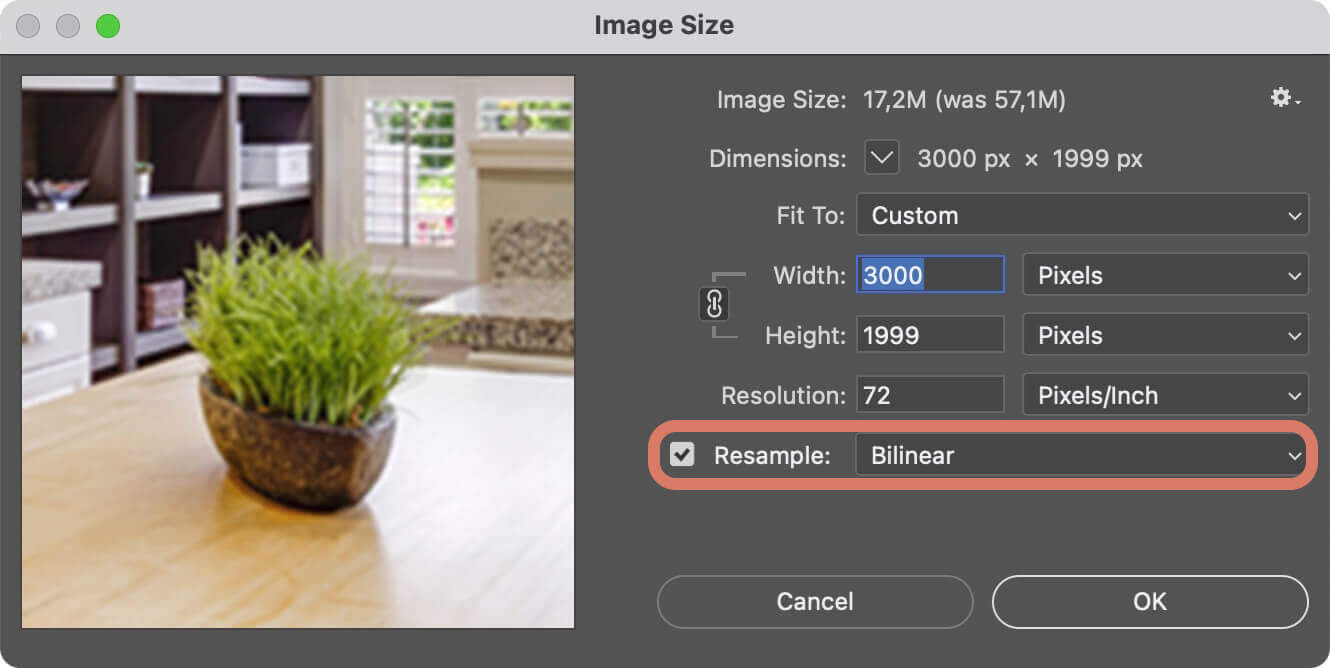
These methods don’t utilize artificial intelligence but “simple” signal processing formulas.
Comparing traditional resampling methods with modern super-resolution highlights the value of artificial intelligence in the image enhancement process.
Practice: Applying super-resolution to your 360° photos
Super-resolution of 360° images is one of our Premium features. Panoraven uses the latest breakthrough in neural networks, powered by dedicated and optimized servers for deep learning.
This image-enhancing feature is also available for a free, 10-day trial with a “Starter” plan. No credit card is required. Just spend 5 minutes to create an account.
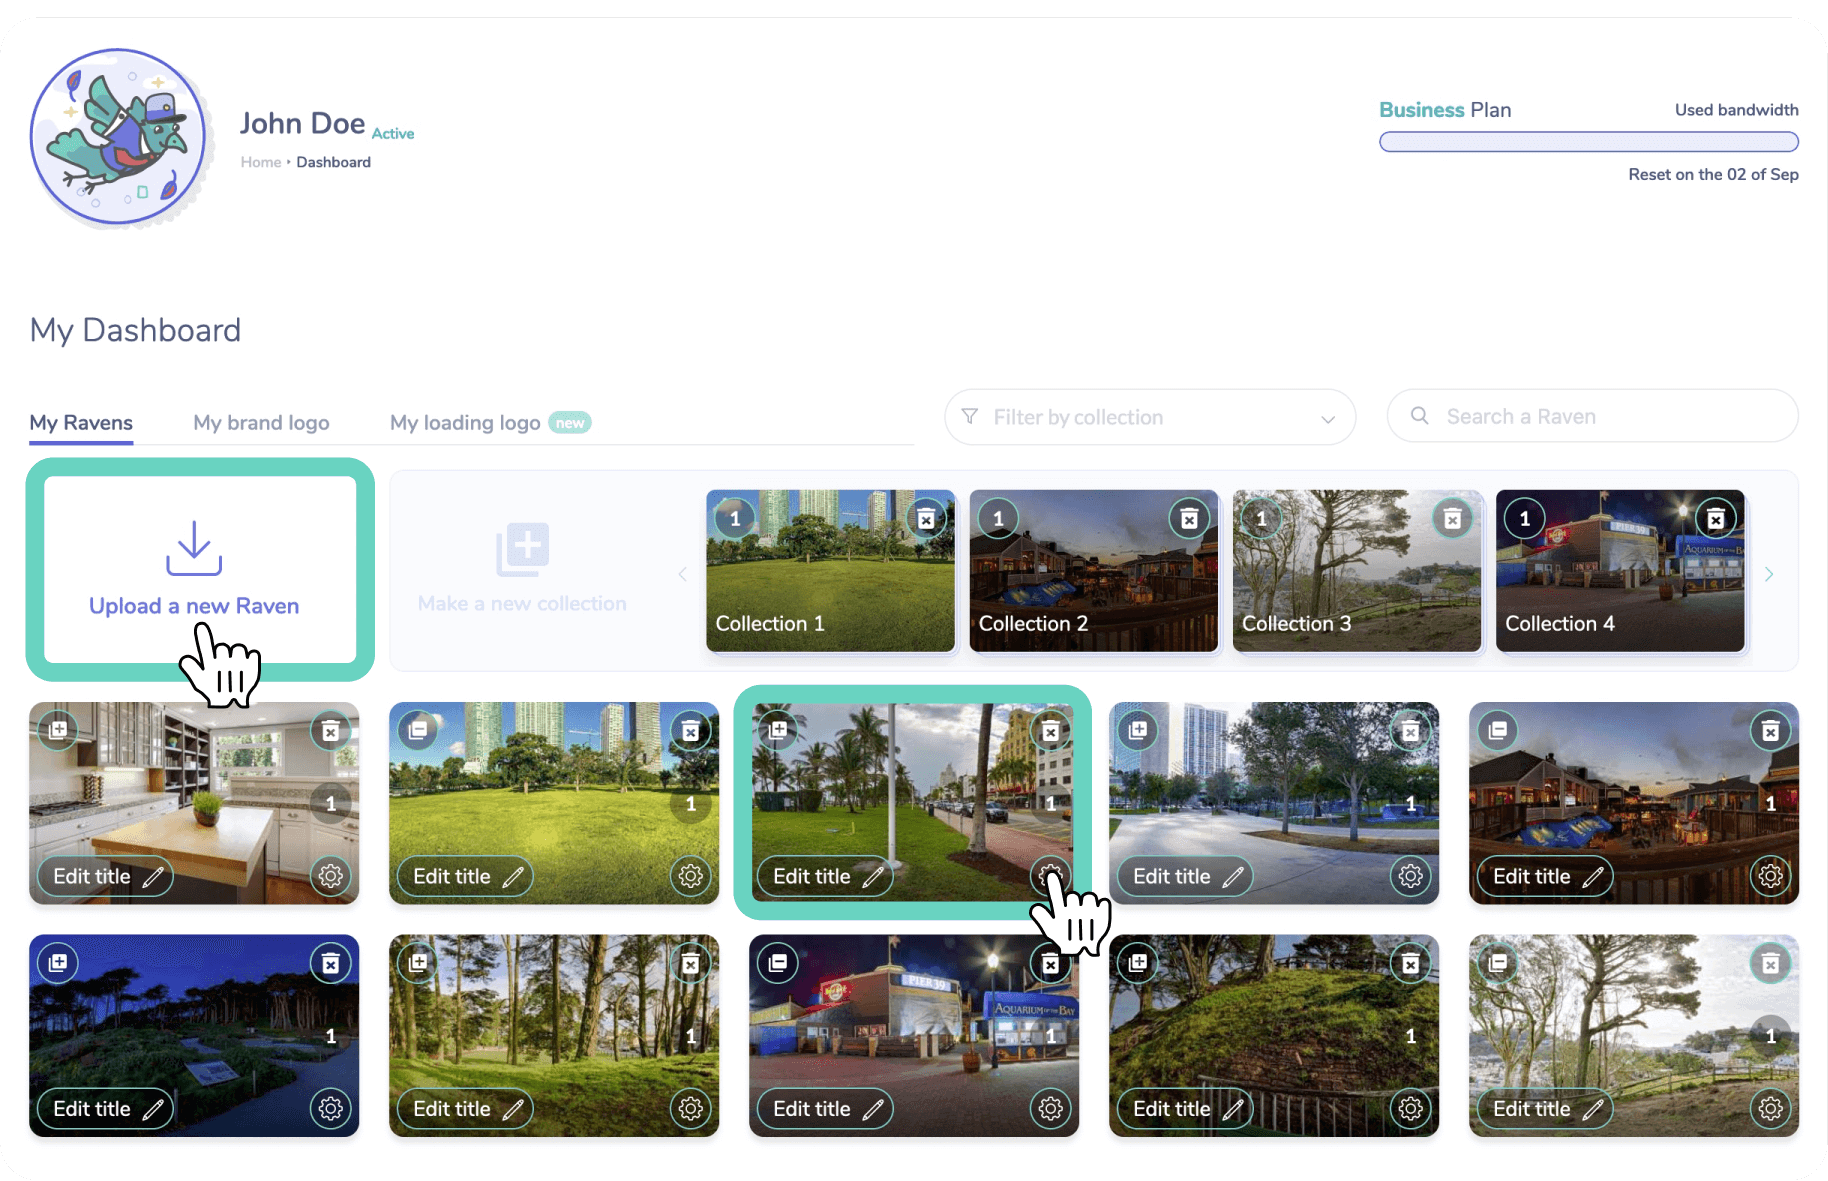
Step 1: Upload your 360° photo from the dashboard
If you already have an account, sign in here. From your dashboard, upload a 360° photo or click on the “gear” icon of an image you previously uploaded. This will display the editing window of the 360° viewer.
Step 2: Activate the super-resolution mode of the image
On the editing page, find the super-resolution switch on the top right corner of the 360° viewer.
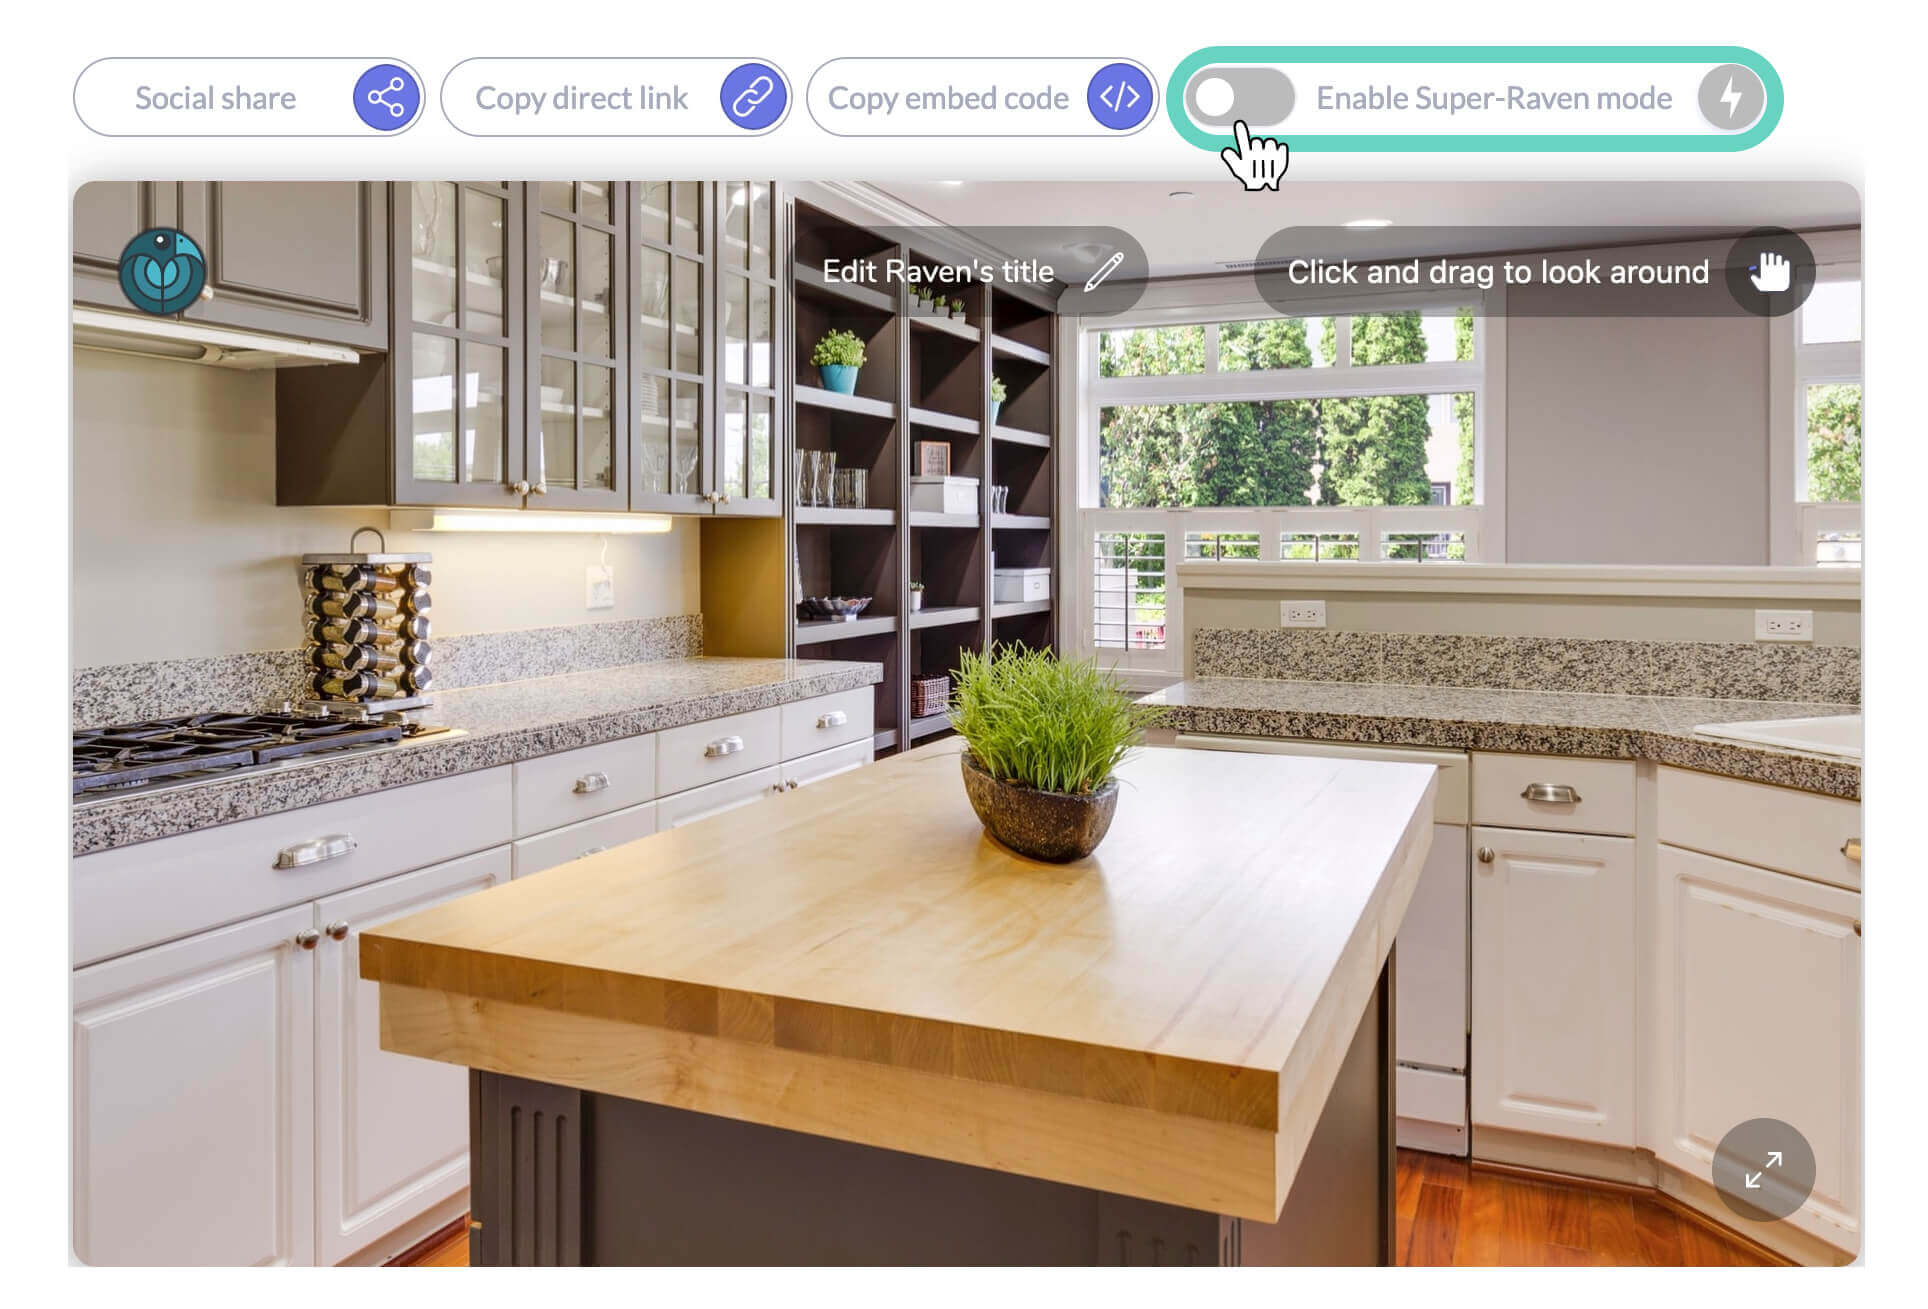
Click the button. It should turn from gray to orange.

This relatively complex feature requires some processing time. As long as the button is orange (and not green), your image is still being processed. You don’t have to stay on the page during the processing. The request is taken into account, and you can, for example, load or edit any other photos meanwhile. Even leaving the website won’t compromise the process, so you can come back later to see the result.

Step 3: Compare your results
Voila! Once the button turns green, you can admire the result.
Note that applying super-resolution to your photo will increase its file size. This is because the output image incorporates more detail and, therefore, more pixels.
As a result, the improved image may take a little longer to load for your end-users. Our load time optimization system is effective, but we recommend that you do testing. Toggle the super-resolution on/off switch and compare the load time for your photo with and without the enhancement. (Once your image has been processed, you can immediately compare the two versions. You don’t have to wait for the image to be enhanced again.)
Let’s summarize!
- Photo resolution enhancement is particularly applicable to 360° images because the lenses of dedicated devices, unlike conventional cameras, dilute the pixels across a 360° field of view.
- Traditional methods of enlargement using software such as Photoshop are not optimal.
- Deep learning produces a much better image.
- Panoraven offers a super-resolution feature based on cutting-edge research in neural networks and deep learning. Go to Part 3 to learn how to restore an image easily.
Flash Tutorial: Increase photos resolution of a 360
Time needed: 15 minutes
How to increase the resolution of a 360° pic
- Connect to your Panoraven account
Connect here or start a free, 10-day trial (no credit card required). Once connected, go to your dashboard.
- Edit or upload a new 360° photo

- Activate the super-resolution mode
The button is at the top right of the 360° player.

- Be patient. The process takes time
The calculations can take anywhere from 5 minutes to an hour, depending on the image. But don’t worry! You can leave the page without interrupting the process, and come back later to admire the result.