

You’ve probably explored a home through a virtual tour, checked out a hotel before booking or wandered through a city on Google Street View. They all rely on the same technology: 360 photography.
360 photography is now within everyone’s reach. With affordable gear and a few basics, anyone can take their first 360 photos, for personal or professional use.
But when you’re just starting out, a few questions come up. What gear should you choose? How do you get your first 360 photos right? And above all, how do you share them or add them to a virtual tour?
This guide walks you through the basics of 360 photography, also called VR photography, from choosing your gear to creating your first virtual tour. Along the way, you’ll find resources to dig deeper into each topic.
In this guide
What is 360 photography?
Unlike a regular photo, which only shows part of the scene, a 360 photo captures everything around the camera, from floor to ceiling.
It usually comes as an image twice as wide as it is tall, called an equirectangular projection. Viewed flat, it looks distorted, a bit like a world map. But in a 360 viewer, it becomes interactive: you can look around in every direction.
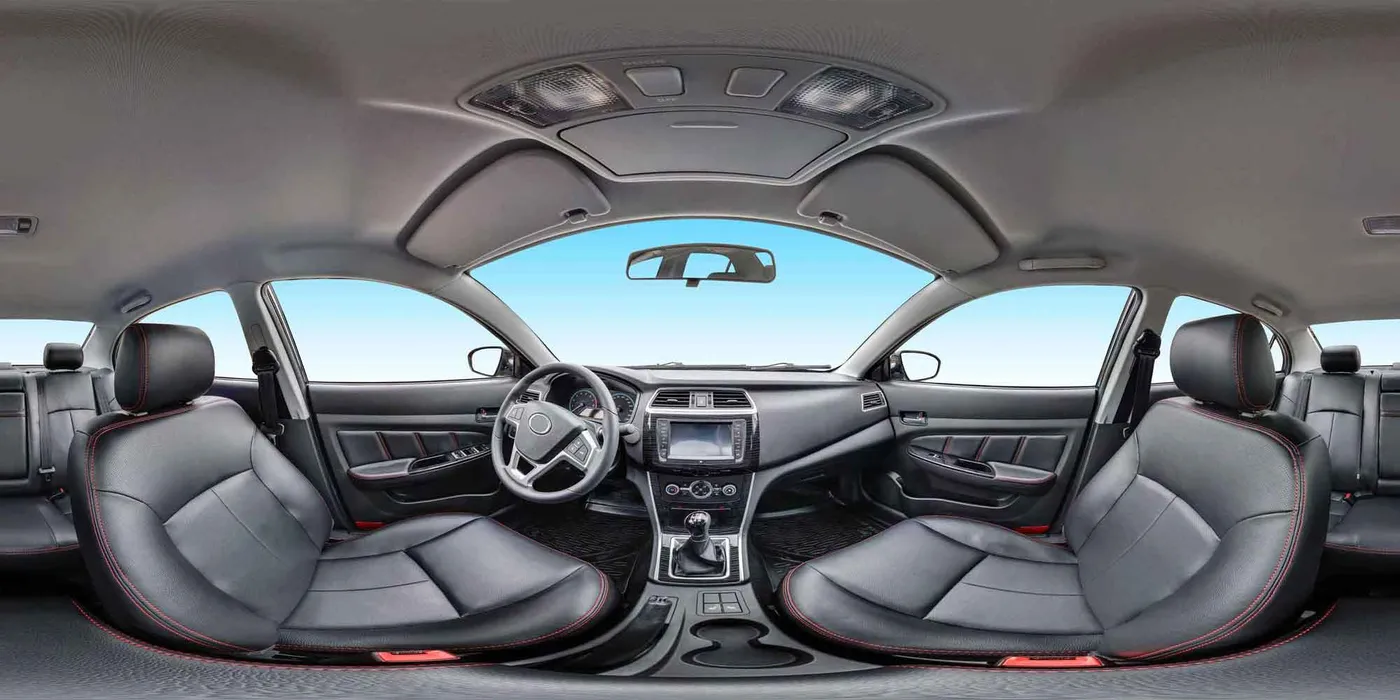
The easiest way to understand it is to try it. Click and drag the image below to look around:
360 photo, panorama or virtual tour: what’s the difference?
A panorama shows a wide, usually horizontal, view of a scene.
A 360 photo goes further: you can look all around you, for a more immersive experience.
And a virtual tour connects several 360 photos with navigation points (hotspots), so you can move from one space to the next.
Where does virtual reality fit in?
You can explore a 360 photo on a computer, a smartphone or a virtual reality headset. On a screen, you look around by dragging the image. With a VR headset, it’s even more immersive: you turn your head to look around, as if you were there.
Panoraven’s VR mode works in your browser, with no app to install.
What are 360 photos used for?
From real estate to tourism, retail and training, 360 photography is used in many fields. Here are a few examples:
Now that you know what a 360 photo is and how it works, let’s get practical. Here are four steps to shoot and share your first 360 photos.
Step 1: What do you need to make a 360 photo?
To take a 360 photo, you have three options: a smartphone, a dedicated 360 camera or a regular camera with a panoramic head. The right choice depends on your budget, the quality you’re after and how often you’ll use it.
Your phone: try it without buying anything
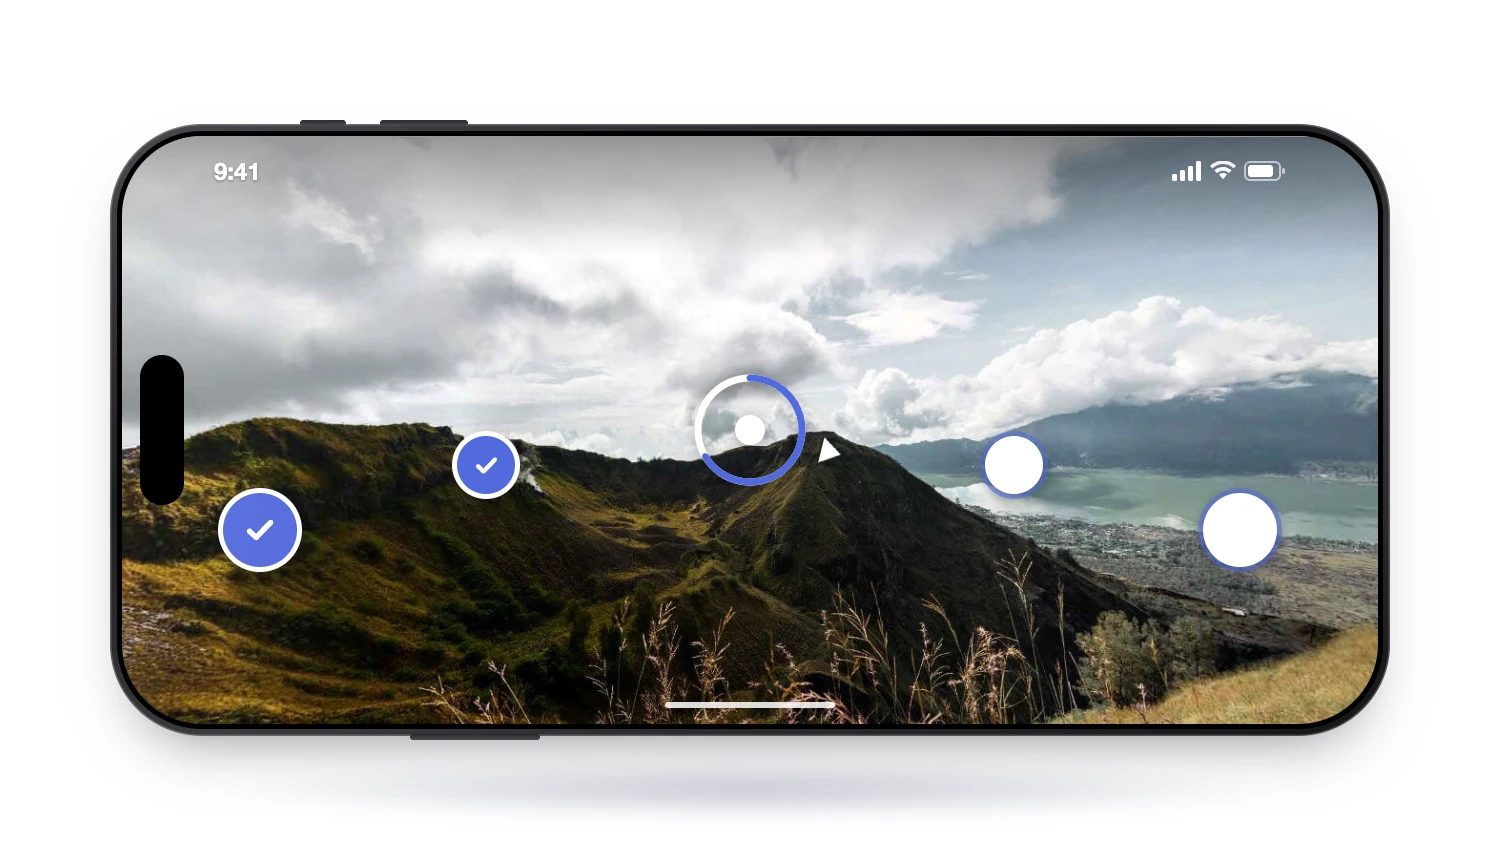
A smartphone can take a 360 photo by capturing several images and stitching them together to recreate the surroundings. It’s an easy way to start, but it requires a static scene: moving subjects cause stitching errors. Tight spaces are also a problem, because the seams between images often show.
Pros
- No extra gear to buy
- Anyone can do it
Cons
- Static scenes only
- Stitching errors, especially in tight spaces
- Lower image quality than a dedicated 360 camera
 Read nextHow do you take a 360 photo on a phone?See the different ways to take a 360 photo with your phone, step by step.Read the article
A dedicated 360 camera: fast and easy
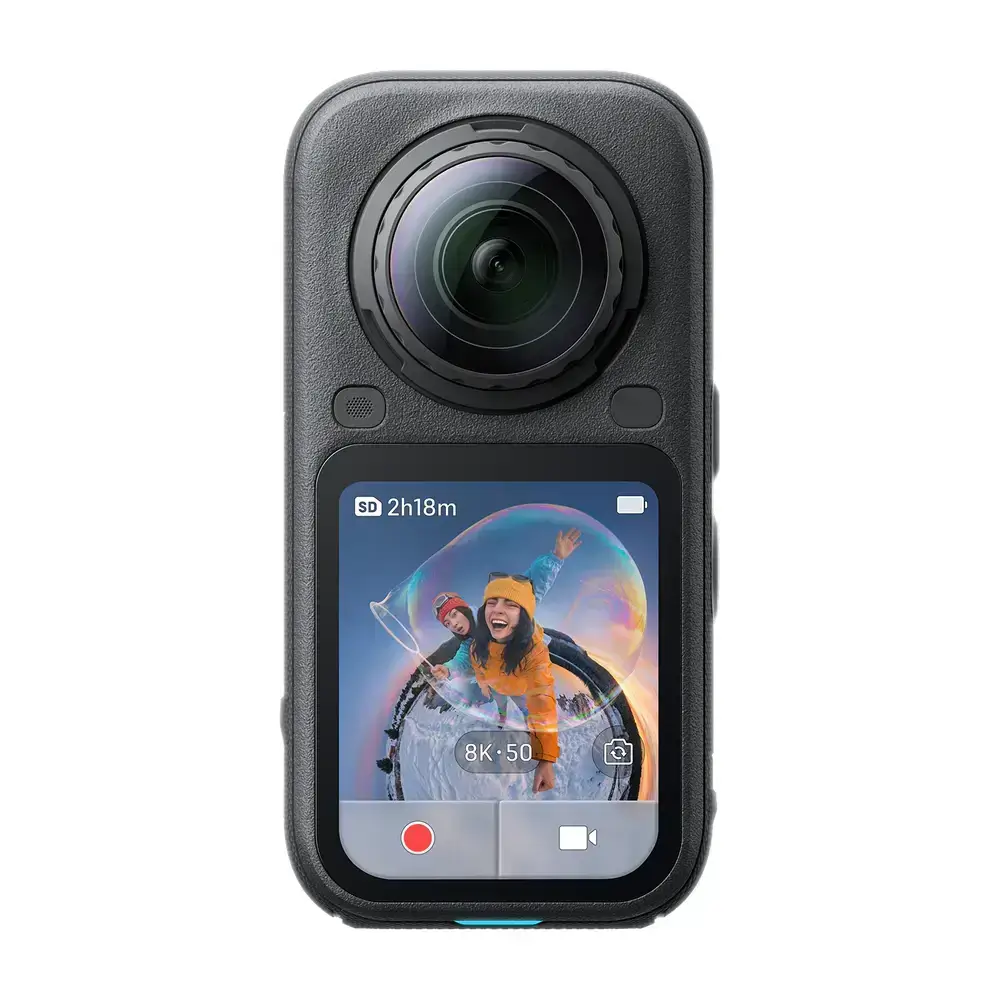
A 360 camera usually has two lenses that capture everything around it in a single shot. Fast and easy to use, it’s the best all-round option for getting started in professional 360 photography.
Expect to pay roughly $300 to $1,000 depending on the model. Look past the advertised resolution and focus on image quality and ease of use.
Pros
- Great quality for the price
- Full capture in a few seconds
- Fairly easy to pick up
Cons
- Costs roughly $300 to $1,000 upfront
- Lower image quality than a high-end camera
 Read nextWhich 360 camera should you choose?Compare the main models and see what matters when choosing one for your budget and needs.Read the article
You can’t hold a 360 camera in your hand: you’d end up in the shot. So a tripod is essential, and the one you choose matters. The base of a standard photo tripod may show up in your shots. Go for a slim, low-profile model instead: it’ll be almost invisible.
Three options, depending on your budget:

Middle ground
The invisible selfie stick
- Invisible and lightweight
- Sways in the wind
Top choice for pros
The monopod
- Invisible and stable
- Weighted for a steady base
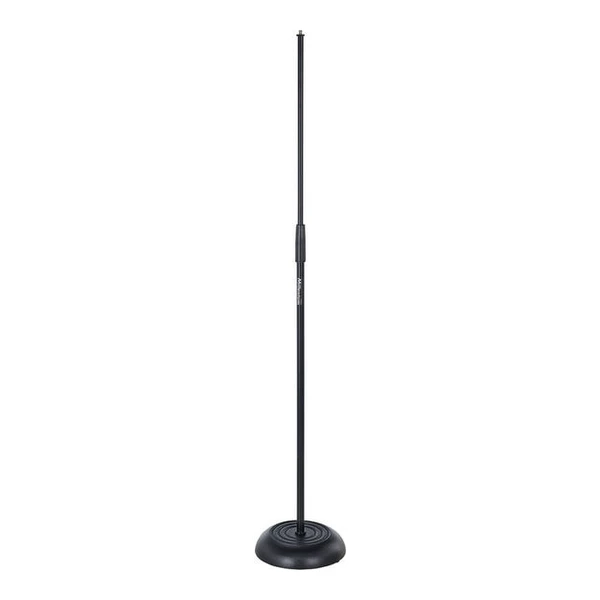
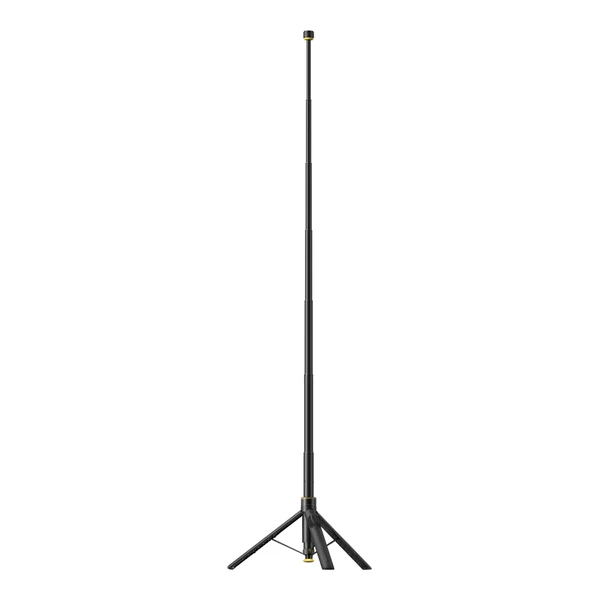
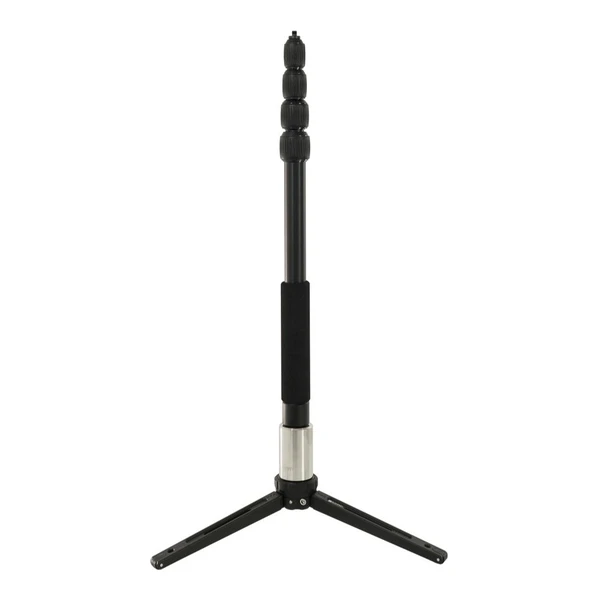
Budget-wise, expect about $20 for the mic stand and its adapter, about $25 for the selfie stick and about $200 for a pro monopod.
A camera with a panoramic head: a more technical option
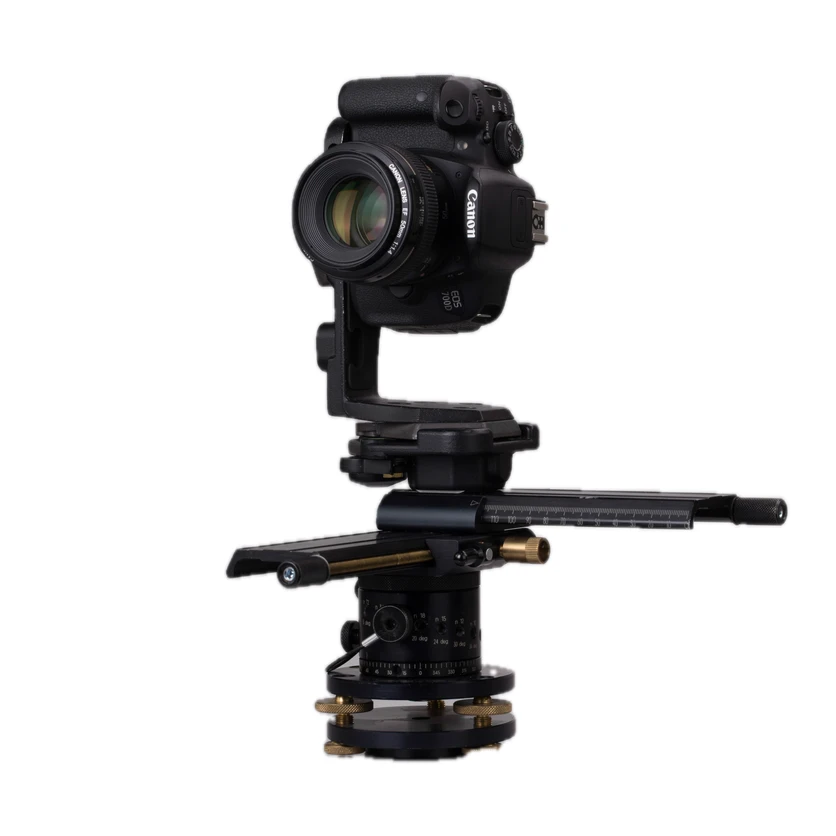
You can also take 360 photos with a DSLR or mirrorless camera fitted with a panoramic head. You take several shots, then stitch them together with specialized software.
It takes more gear and know-how, but it delivers higher image quality, well suited to high-end projects such as photographing luxury properties or unique locations.
To get started, a smartphone is enough. For professional use, go for a dedicated 360 camera with the right tripod: it’s the best balance of quality, simplicity and price. DSLR and mirrorless cameras are mainly for high-end projects and require advanced technical skills.
Step 2: How do you take a 360 photo?
Here we’ll focus on the 360 camera, the most common option for professional use. It’s simple to use, but a few best practices will get you better results.
- 1Shoot remotely, out of sight
- 2At eye level, about 5 ft
- 3Centered, at least 3 ft from objects
- 4Use a slim tripod
- 5Favor natural light
- !Avoid lights too close to the camera
To stay out of the photo, trigger the shot remotely from your smartphone. That way, you can stand in the next room or behind something, out of the camera’s view.
Watch out for reflective surfaces such as mirrors and windows: even outside the camera’s direct view, you can show up in a reflection. Check your surroundings before you shoot.
Favor natural, even light for a balanced result. If you use artificial lighting, avoid placing light sources too close to the camera to limit overexposed areas.
Step 3: How do you share your 360 photos?
Once you’ve taken your 360 photo, it’s time to share it. But unlike a regular photo, it needs a 360 viewer to be explored. Without one, it shows up as a flat, distorted image.
That’s where Panoraven comes in. Our 360 photo viewer is modern, fast and responsive and displays your photos on computers and smartphones alike. It’s free and works with no sign-up. You can upload your 360 photos and share them easily, in several ways:
After uploading, you can also get a private edit link to change or delete your photos at any time, no account needed. The free viewer is for personal use only and shows the Panoraven logo.
Step 4: Create your virtual tour
By connecting several 360 photos of the same place, you can create a 360 virtual tour that lets visitors move from room to room. You can also add a floor plan, extra information or contact details.
Here’s an example of a virtual tour created with Panoraven.
Panoraven does much more than link 360 photos together. Add information points, videos or PDFs, customize your tour and enhance your images with automatic color correction and AI super-resolution, all in your browser, with no software to install.
Creating virtual tours is included in Panoraven’s premium plans.
We’ve only covered the basics here. For the full process, read our complete guide to creating 360 virtual tours.
 Read nextHow do you create a 360 virtual tour?Learn how to create your virtual tour step by step, from uploading your photos to customizing and sharing it.Read the article
Key takeaways
The essentials in 30 seconds
- A 360 photo captures a space in every direction, in a single image.
- You can take one with a 360 camera, a smartphone or a DSLR.
- You can explore it on a screen or with a VR headset.
- A virtual tour connects several 360 photos with navigation points (hotspots), so you can move from one space to the next.
You now have the basics to get started in 360 photography:
- To try 360 photography, start with your smartphone and share your images for free with Panoraven.
- For professional use, go for a dedicated 360 camera and a suitable tripod.
- To go further, create an interactive virtual tour by connecting several 360 photos and adding useful information.
Now go take your first 360 photo!
Create your first virtual tour with Panoraven
Upload your 360 photos, link the rooms together and customize your tour. Try Panoraven’s features free for 10 days, no credit card required.
- 10-day free trial
- No credit card
Photo credit: panoramic head by Hubertl (CC BY 4.0), background removed.

